In summary:
- Effective survival is not about a long checklist, but mastering a few critical tools that prevent common, fatal mistakes.
- In Canada, your gear must function in wind, cold, and under dense forest canopy where technology often fails.
- Bear spray is a tool of last resort; knowing how to deploy it in adverse conditions is more important than just carrying it.
- Staying put (the STOP rule) is your best strategy, as it conserves energy and makes you a findable target for rescue teams.
- A two-way satellite messenger is superior to a simple PLB as it allows you to communicate the nature of your emergency, enabling a faster, more appropriate response.
Every year, day hikers step onto a Canadian trail for a three-hour walk and end up triggering a multi-day search operation. In my line of work as a Search and Rescue (SAR) volunteer, we see this all the time. The common thread isn’t a lack of gear; it’s a misunderstanding of what truly matters when things go wrong. Most online articles will give you a generic list of “10 essentials.” While not wrong, that list fails to capture the brutal reality of a night spent lost in the dense boreal forest or the sudden, violent weather of the Rockies.
The standard advice to “pack a first-aid kit” or “dress in layers” is table stakes. It doesn’t prepare you for the critical decision-making required under the immense psychological pressure of being lost. The real failure points aren’t in the gear, but in the user’s ability to deploy it effectively when panic sets in. Can you start a fire when your hands are numb and the wood is damp? Do you know when to trust your map over a glitching GPS?
This is where the SAR perspective differs. We don’t just see the gear; we see the consequences of its failure. This guide moves beyond the checklist. We will focus on five specific areas that address the most common and fatal mistakes we encounter in the field. It’s not about the items themselves, but about how they function as mental circuit breakers, forcing logical decisions when your instincts are screaming at you to do the exact wrong thing. We’ll explore the critical skills and mindset that turn a can of bear spray, a fire starter, or a map into a genuine link in your rescue chain.
This article breaks down the essential knowledge you need, from handling wildlife encounters to navigating when technology fails. Each section addresses a critical question that could mean the difference between a story you tell later and a search that ends in tragedy.
Summary: A SAR Volunteer’s Guide to Canadian Wilderness Survival
- How to Deploy Bear Spray Without Blinding Yourself in the Wind?
- Fire Starting 101: How to Ignite Damp Birch Bark with a Ferro Rod?
- GPS Device vs. Paper Map: Which Is More Reliable in Dense Canopy?
- The “Stop” Rule: Why Moving When Lost Reduces Your Chance of Rescue?
- When to Signal: Should You Use Your Flares Immediately or Wait for Sound?
- Satellite Phone vs. PLB: Which Emergency Device Do You Need for Solo Trips?
- The Hypothermia Risk That Even Summer Hikers Ignore
- Exploring Yukon’s Wilderness: The Safety Gear You Must Pack
How to Deploy Bear Spray Without Blinding Yourself in the Wind?
Carrying bear spray is standard advice, but deploying it is a high-stress, low-frequency event. The most common failure point we see is user error, often caused by wind. A face full of capsaicin will incapacitate you far more effectively than the bear you’re trying to deter. The key is to treat bear spray not as a fire-and-forget weapon, but as a tool for creating a barrier. Its effectiveness is proven; Parks Canada confirms it has deterred bears in over 90 percent of cases where it was deployed. However, that statistic assumes correct usage.
Before you even step on the trail, ensure your spray is accessible (not buried in your pack) and you’ve practiced removing the safety clip with one hand. When a bear is charging, your fine motor skills will evaporate. The goal is to create a wall of aerosolized pepper between you and the animal. Always try to position yourself so the wind is at your side, not in your face or directly behind you. If the wind is blowing from your left to your right, aim the canister slightly to the left of the bear. The wind will carry the cloud into its path. Use short, one-second bursts to create a cone of spray that the bear must run through. Do not empty the can in one go; you might need it for a second charge or another bear.
Understanding the local rules is also part of being prepared. Bear spray regulations vary significantly across Canada, and carrying it in the wrong place can have serious legal consequences.
| Location | Carry Regulations | Size Limits | Transport Rules |
|---|---|---|---|
| National Parks (Banff, Jasper) | Highly recommended, legal to carry | Max 500ml per Canadian law | Cannot carry on commercial flights |
| Provincial Parks (Algonquin) | Permitted in wilderness areas | 225ml recommended (10 seconds) | Store in trunk during vehicle transport |
| Urban Areas | Prohibited – counts as concealed weapon | N/A | Illegal under Criminal Code Section 90 |
After the bear retreats, leave the area immediately but do not run. You want to move to a place of safety while remaining aware of your surroundings.
Fire Starting 101: How to Ignite Damp Birch Bark with a Ferro Rod?
A fire in a survival situation is about more than warmth; it’s a psychological anchor, a water purifier, and a signaling device. It manages your core temperature economy. While many hikers carry a lighter, we in SAR know that lighters fail. They get wet, run out of fuel, and don’t work well in the cold. A ferrocerium (ferro) rod is a far more reliable tool, but it requires skill, especially in the damp conditions typical of many Canadian forests.
Birch bark is famous as a fire starter because its oils are flammable even when wet. However, “damp” is a spectrum. If the bark is saturated, you’ll need to prepare it. Use the spine of your knife to scrape the outer, papery layers into a fine, fluffy pile. This increases the surface area and exposes the drier, oil-rich material underneath. You must create a tinder bundle that can catch a spark and sustain a flame long enough to ignite larger kindling. This is where the feather stick technique is indispensable. By carving fine curls into a piece of dry softwood, you create a perfect, self-contained tinder source.
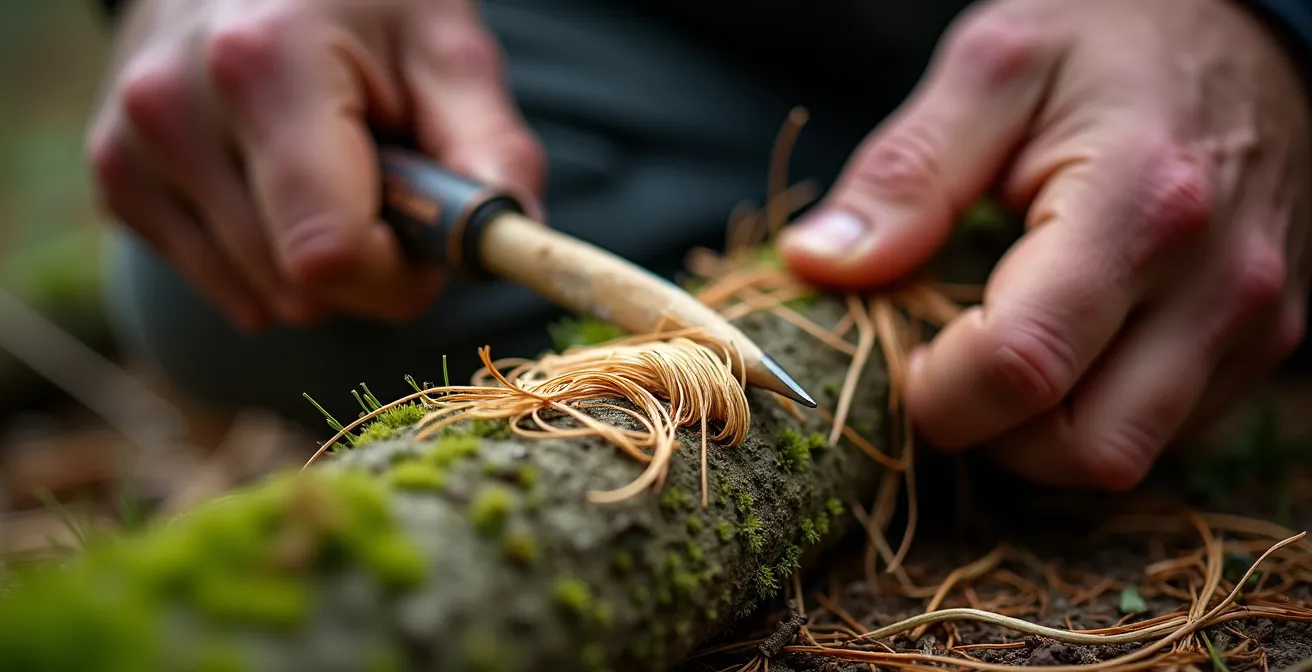
When striking your ferro rod, press the rod firmly into your tinder bundle and pull the striker (or the spine of your knife) back towards you. This showers sparks directly onto your target without disturbing your carefully prepared tinder. It’s also wise to learn from the land itself. Wilderness survival experts, drawing on traditional First Nations knowledge, point to superior tinder like Old Man’s Beard lichen (Usnea) and fatwood from pine stumps. These materials are naturally water-resistant and can be a lifesaver when everything else is soaked.
Never underestimate the importance of practice. Spend an afternoon in your backyard, even in the rain, trying to start a fire with your ferro rod and various natural materials. That practice session could save your life.
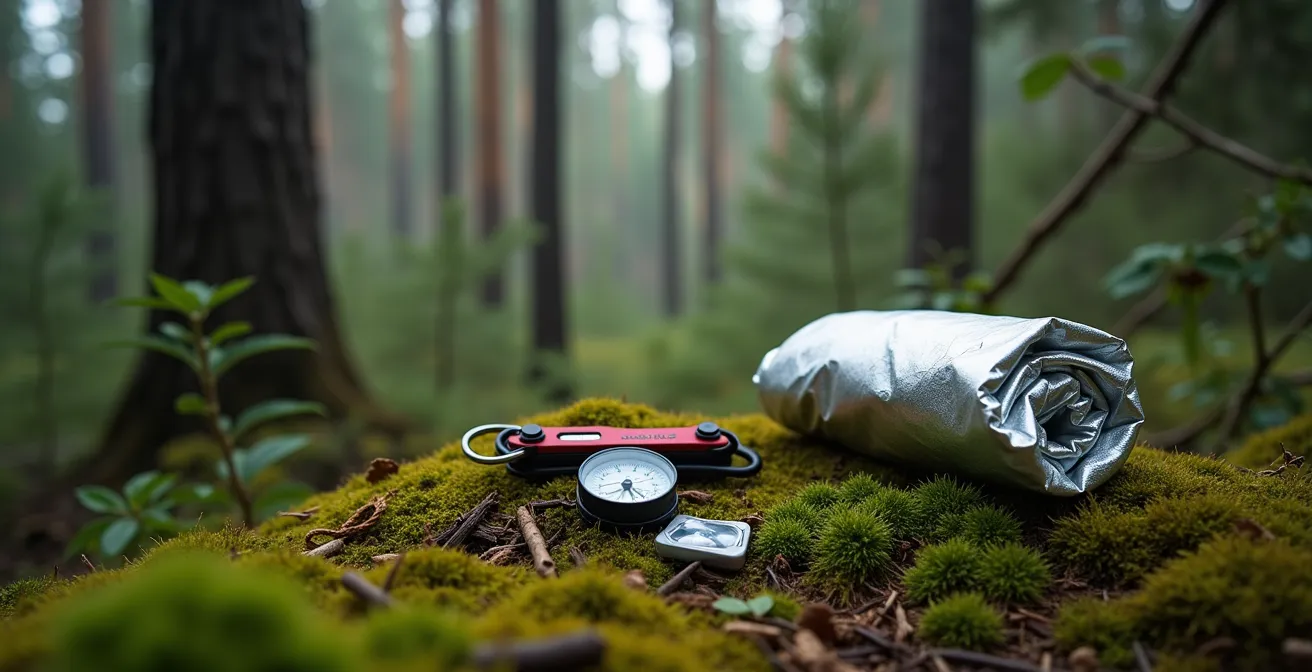
GPS Device vs. Paper Map: Which Is More Reliable in Dense Canopy?
Your smartphone’s GPS is a fantastic convenience, but in a real survival scenario in the Canadian wilderness, over-reliance on it is a critical mistake. The primary failure point for electronic navigation is twofold: battery life and signal reception. Dense forest canopy, especially the towering temperate rainforests of British Columbia, can be a death sentence for a GPS signal. Field studies show that signal reception is not guaranteed; in fact, there can be up to a 70% drop in signal strength under thick canopy, with deep valleys becoming total dead zones.
This is why a paper map and a compass are not relics; they are your most reliable tools. They have no batteries, and they work everywhere. Learning to read a topographic map—understanding contour lines, identifying terrain features like ridges and valleys, and orienting the map with a compass—is a non-negotiable skill. Your map provides the strategic overview, the “big picture” that a small GPS screen can never offer. It allows you to understand your position relative to the entire landscape, which is crucial for making sound decisions if you need to re-route.
That said, a dedicated GPS device (not a phone) is a powerful tool *when used correctly*. But its utility in the Canadian cold is directly tied to your battery management strategy. Lithium batteries are essential for their superior cold-weather performance, but even they will drain rapidly if not protected.
Your Action Plan: Battery Management for Canadian Cold
- Keep devices and backup batteries insulated and close to your body heat, for example, in an inside jacket pocket.
- Use a backup power bank, but keep it wrapped in a spare wool sock or other insulating material to preserve its charge.
- Switch your device to airplane mode or power-save mode whenever you are not actively navigating to drastically reduce battery drain.
- Avoid exposing a cold device to sudden warmth (like a fire), as condensation can form inside and damage the electronics.
- Carry both: use your GPS for quick, precise location checks, but use your map and compass for all major navigational planning.
Ultimately, the most reliable navigation system is the one between your ears, trained to use both digital and analog tools to build a complete picture of your location.
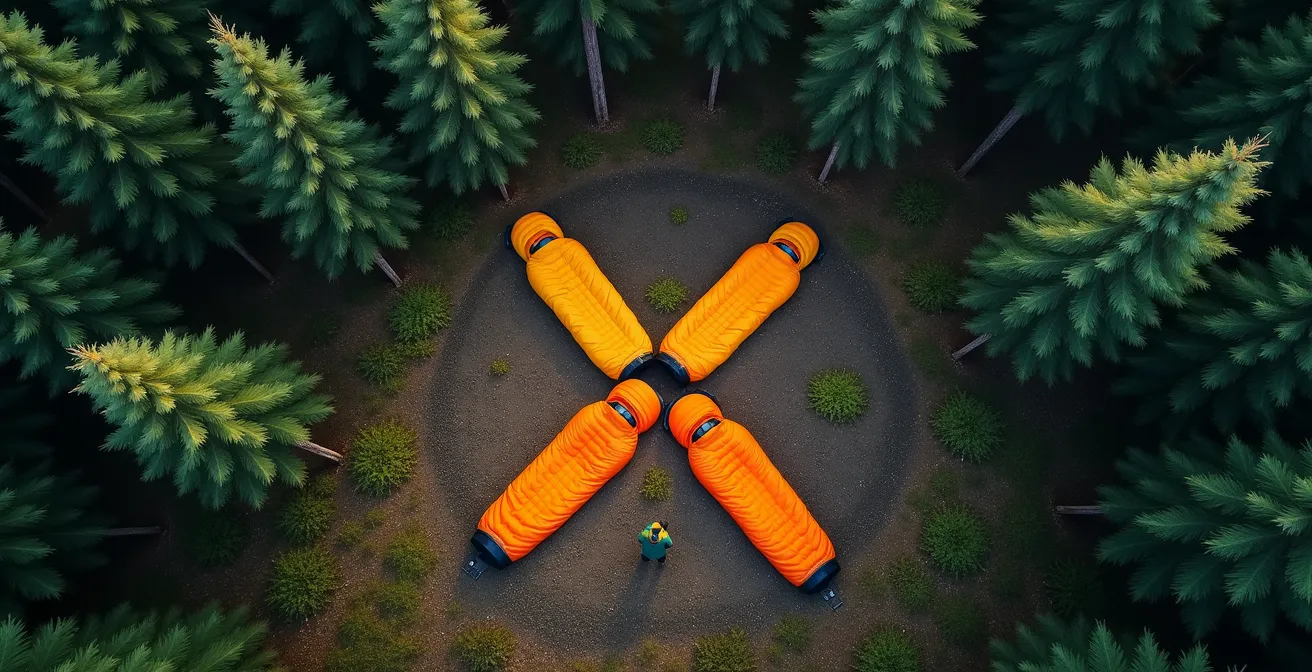
The “Stop” Rule: Why Moving When Lost Reduces Your Chance of Rescue?
The moment a hiker realizes they are lost, a primal, powerful instinct kicks in: “get-home-itis.” It’s an overwhelming urge to keep moving, to push “just a little further” in the hopes of finding the trail. From a SAR perspective, this is the single most dangerous mistake you can make. Moving aimlessly wastes your two most precious resources: your calorie and core temperature economy. More importantly, it moves you further from your last known point, exponentially expanding the search area and making it harder for us to find you.
This is where you need a mental circuit breaker. The internationally recognized “STOP” rule is designed for this exact purpose:
- Stop: The moment you feel lost, stop moving. Sit down. Have a drink of water and eat a snack.
- Think: Fight the panic. How did you get here? What was the last landmark you recognized? Check your map.
- Observe: Look and listen. Can you hear a road or a river? Can you see any familiar peaks? Assess your immediate surroundings for resources like shelter, water, and firewood.
- Plan: Make a conscious plan. The best plan is almost always to stay put. This conserves energy and makes you a stationary target for rescuers.
The ‘STOP’ rule acts as a crucial mental circuit breaker to prevent panic in Canada’s vast, uniform boreal landscapes where get-home-itis can be fatal.
– International Canadian School of Survival, Wilderness Safety Training Manual
Staying put is an active survival strategy. It shifts your objective from “getting out” to “being found.” It’s important to understand the realities of the rescue chain. Even after you’re reported missing, it takes time to mobilize a team. In vast Canadian wilderness, you should be prepared for a typical response time of 24 to 48 hours for SAR teams to reach your location. Your job is to survive that period and make yourself visible.
Once you’ve stopped, use your newfound time to prepare your camp. Build a shelter, gather firewood, and set up ground-to-air signals in a clearing. You have now become an active participant in your own rescue.
When to Signal: Should You Use Your Flares Immediately or Wait for Sound?
Once you have stopped and made camp, your next priority is signaling. However, effective signaling is about managing resources and understanding the environment. Firing your one and only flare into an empty sky is a waste. The core principle is to maximize the “signal vs. noise” ratio—making your distress call stand out from the vast, silent backdrop of the Canadian wilderness. This means using the right signal, at the right time, for the right conditions.
The choice between an audible signal (whistle) and a visual one (flare, mirror) depends entirely on your terrain. As Canadian SAR teams have demonstrated, a 120-decibel whistle can carry up to 2km in the dense, view-obstructing forests of British Columbia, where a flare would be useless. Conversely, in the wide-open tundra of the Yukon or above the treeline in the Rockies, a signal mirror or flare can be seen from over 16km away on a clear day. Your first step is to assess your environment and choose the most effective tool.
The second step is timing. Do not use your limited visual signals like flares or smoke until you hear or see a potential rescuer. A flare lasts only a few seconds; its purpose is to pinpoint your exact location for an aircraft that is already in your vicinity. Wasting it is a critical error. An emergency whistle, on the other hand, costs you nothing but breath. You should use it early and often. The universal distress signal is a pattern of three.
- Three whistle blasts, followed by a minute of silence to listen for a response.
- Three mirror flashes aimed at an aircraft.
- Three distinct columns of smoke or three fires arranged in a large triangle.
By using the rule of threes, you are communicating in a language that every rescuer in the world understands. You are no longer just a lost person; you are a beacon calling for help in a structured, recognizable way.
Satellite Phone vs. PLB: Which Emergency Device Do You Need for Solo Trips?
For solo hikers or those venturing deep into Canada’s backcountry where there is no cell service, an emergency communication device is not a luxury—it’s essential. The two main options are a Personal Locator Beacon (PLB) and a two-way satellite messenger (like a Garmin inReach or Zoleo). A PLB is a simple, one-function device: you press a button, and it sends a distress signal with your GPS coordinates to the international COSPAS-SARSAT satellite system, triggering a rescue. It’s foolproof and has no subscription fees, but its one-way nature is a major limitation.
From a SAR perspective, a two-way messenger is vastly superior. The ability to communicate the nature of your emergency transforms the entire rescue operation.
A two-way messenger allows you to communicate the nature of the emergency – ‘sprained ankle, not critical’ versus ‘bear attack, immediate help’ – speeding up the right type of response from Canadian SAR teams.
– Canadian Outdoor Survival Podcast, Episode on Emergency Communications
This context is invaluable. A non-critical injury might trigger a response from a local ground team the next morning, while a life-threatening situation could warrant an immediate helicopter dispatch. A two-way device also allows SAR to communicate with you, providing advice, confirming your location, and giving you the immense psychological comfort of knowing that help is on the way. While these devices have an initial cost and a monthly subscription fee, their value in a crisis is immeasurable.
Choosing the right device depends on your budget, trip length, and the specific region of Canada you’ll be exploring, as network coverage can vary.
| Device | Initial Cost | Monthly Plan | Best For | Coverage |
|---|---|---|---|---|
| Garmin inReach | $400-600 CAD | $15-65/month | Multi-month Yukon expeditions | Iridium (100% global) |
| SPOT Gen4 | $200-250 CAD | $12-35/month | Weekend Algonquin trips | Globalstar (limited Arctic) |
| PLB (ACR ResQLink) | $350-400 CAD | $0 (no subscription) | Emergency-only backup | COSPAS-SARSAT (global) |
| Zoleo | $275 CAD | $20-50/month | Balanced coverage/cost | Iridium (100% global) |
For the serious day hiker who often explores remote areas, a two-way messenger is the wisest investment you can make in your safety.
The Hypothermia Risk That Even Summer Hikers Ignore
Hypothermia isn’t just a winter problem. In Canada, it’s a year-round threat that catches many summer hikers by surprise. A sunny, 25°C afternoon in the Rockies can plummet to below freezing once the sun sets, a storm rolls in, or you gain elevation. Parks Canada warns that a 30-degree Celsius temperature swing in a single day is entirely possible in the mountains. If you’re lost, injured, or simply delayed on the trail, a beautiful summer day can quickly turn into a fight for survival against the cold.
The danger is insidious because it starts subtly. You get caught in a brief rain shower, the wind picks up, and your cotton t-shirt (a major mistake) gets damp. You start to feel a little chilled, but you press on. This is the beginning of a deadly spiral. Your body is losing heat faster than it can produce it. The initial signs are not violent shivering, but a slow degradation of your physical and mental abilities. As a SAR volunteer, we train to recognize the “-umbles,” the tell-tale early signs of hypothermia:
- Stumbles: A loss of coordination and difficulty walking a straight line.
- Mumbles: Slurred speech and an inability to form coherent sentences.
- Fumbles: Clumsy hands that can’t perform simple tasks like zipping up a jacket or opening a pack.
- Grumbles: A sudden shift in personality towards irritability, apathy, or confusion.
If you or a member of your group starts exhibiting these signs, you must take immediate action. Stop hiking. Find or create a shelter out of the wind and rain. Remove wet clothing and replace it with dry layers from your pack (this is why you always carry a spare base layer, hat, and gloves). If the person is conscious, give them warm, sugary drinks. The goal is to stop the heat loss and begin to gently rewarm the body’s core. Your emergency shelter and fire-starting ability are your primary tools in this fight.
Ignoring these subtle signs is a common and often fatal mistake. Treating a “little chill” with the seriousness it deserves can prevent a medical emergency from spiraling out of control.
Key takeaways
- Your survival mindset is your most important tool; gear only enables good decisions.
- Always plan for a 24-48 hour unplanned stay in the wilderness, even on a day hike.
- Master a few critical skills (fire, navigation, signaling) rather than carrying a pack full of gear you can’t use under pressure.
Exploring Yukon’s Wilderness: The Safety Gear You Must Pack
The Yukon is not your average Canadian wilderness. Its scale, remoteness, and unique environmental challenges demand a higher level of preparation. The principles of survival are the same, but the specific gear choices need to be adapted. For example, the insect population (mosquitoes and black flies) is legendary; a high-quality bug jacket with fine mesh is not a comfort item, it is essential for sanity and to prevent debilitating bites.
Due to the vast distances and the presence of large predators, gear requirements are more stringent. Bear-resistant food canisters are mandatory in many of the territory’s parks, and a cold-weather-rated satellite communicator with 100% global coverage (like one on the Iridium network) is a must-have. Flying with items like bear spray or firearms is restrictive, but local outfitters in Whitehorse like Up North Adventures offer comprehensive rental packages. This allows you to access specialized equipment like satellite phones or water filters designed for glacial silt without the logistical hassle.
However, the most profound safety tool may not be in your pack at all. True preparedness in the Yukon involves respecting and learning from the land and its people. This perspective elevates safety from a mere checklist to a holistic understanding of the environment.
Integrating Tr’ondëk Hwëch’in traditional knowledge about reading river conditions and understanding caribou behavior patterns is as vital to Yukon wilderness safety as any modern gear.
– Yukon First Nations Wilderness Guide, Traditional Knowledge Integration Program
This wisdom, built over millennia, provides a layer of situational awareness that no GPS can replicate. It’s about seeing the forest not as an obstacle, but as a living system. Your Yukon-specific gear list should reflect this demanding environment:
- Bug jacket with fine mesh for notorious Yukon mosquitoes and black flies
- 12-gauge shotgun with slugs (with proper non-resident permits if required)
- Collapsible water bucket for pre-filtering glacial silt before purification
- Bear-resistant food canisters (mandatory in some Yukon parks)
- Cold-weather satellite communicator with Iridium coverage for the Far North
Ultimately, your safety in the Canadian wilderness depends not on the weight of your pack, but on the quality of your preparation and the soundness of your decisions under pressure. Take the time to practice with your gear, develop your skills, and adopt a mindset of humility and respect for the wild. Your goal should be to make the job of people like me, the SAR volunteers, as boring as possible.