Choosing between Whistler and Big White isn’t about which is ‘cheaper’, but where your family finds the most value per dollar spent on and off the slopes.
- Whistler’s higher price can be offset by multi-day passes, but peak season crowds and variable coastal snow can diminish the on-hill value.
- Big White offers lower upfront costs, more reliable ‘champagne powder’, and Canada’s largest night skiing area, maximizing quality ski time for your investment.
Recommendation: Use this guide to calculate your family’s “true cost per run,” factoring in everything from equipment strategy to snow reliability, before booking your trip.
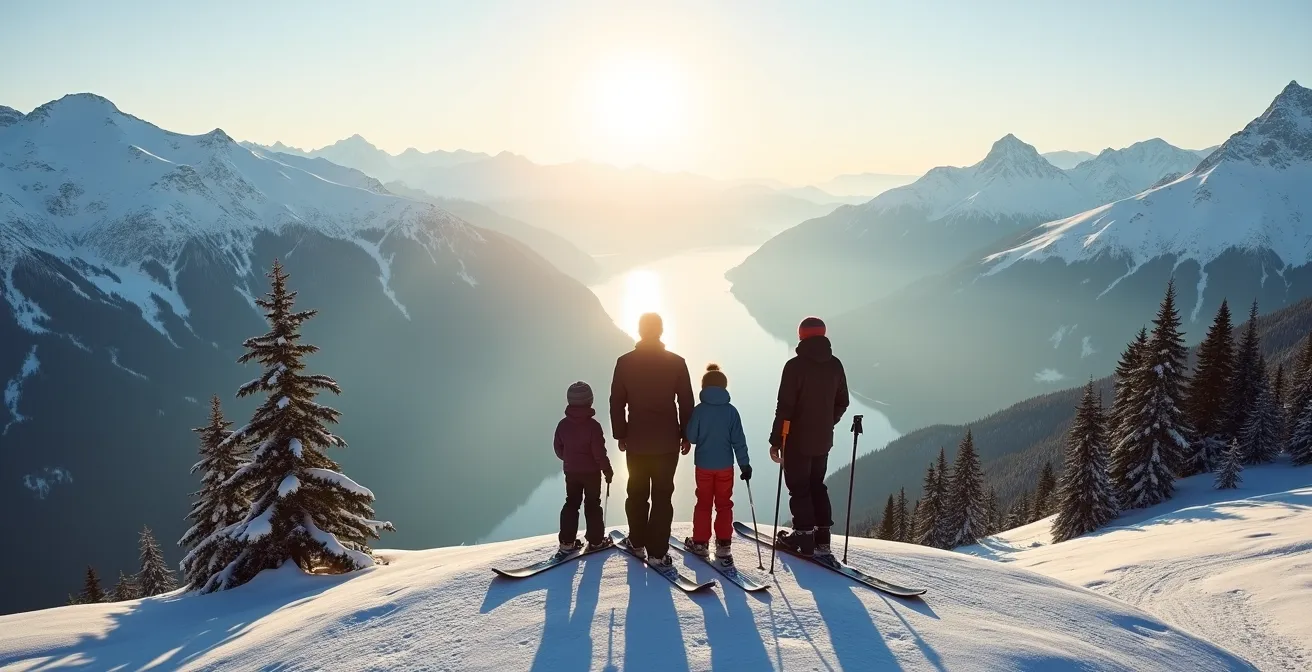
Every year, Canadian families face the same exciting dilemma: planning the perfect winter ski vacation. The conversation often starts with a simple comparison between British Columbia’s two giants, Whistler Blackcomb and Big White. On the surface, the choice seems straightforward. Whistler is the world-renowned mega-resort with endless terrain, while Big White is the famously family-friendly haven with its ski-in, ski-out village. Most families pull up the lift ticket prices, gasp, and make a decision based on that number alone.
But as a ski instructor who has spent countless seasons in the Rockies, I can tell you that the sticker price of a lift ticket is one of the most misleading metrics for determining a trip’s true cost and value. The real calculation goes much deeper. It involves factors that aren’t listed in a brochure: the quality of the snow, the actual hours you can ski, the hidden costs of equipment for growing kids, and even the legal nuances of on-hill safety. These are the variables that truly define your experience and your budget.
The key isn’t simply finding the cheapest option; it’s about understanding the true cost per run. This guide is designed to move beyond the surface-level debate. We will break down the hidden costs and value drivers, giving you an instructor’s insider perspective. We’ll analyze everything from dynamic pricing and equipment strategies to the critical differences in snow quality and safety regulations, empowering you to make a decision that delivers the best possible value for your family’s precious vacation time and money.
This article provides a detailed breakdown of the key factors to consider, equipping you with the knowledge to compare these resorts like a seasoned pro. The following sections will guide you through each critical decision point.
Summary: A Family’s Guide to True Ski Vacation Value
- Why Do Lift Ticket Prices Fluctuate So Much During the Season?
- Renting Skis vs. Buying Used: Which Saves More Money for Kids Under 12?
- Night Skiing: Is the Reduced Ticket Price Worth the Limited Terrain?
- The Collision Liability: Who Pays If You Crash into Another Skier?
- February Break vs. March Break: When Is the Snow Quality Actually Best?
- How to Dress for “Freeze-Thaw” Cycles Without Overheating?
- TSSA Certification: What Does That Sticker Mean on a Zipline?
- Visiting Canada in November: Why Is It the Cheapest Month to Fly?
Why Do Lift Ticket Prices Fluctuate So Much During the Season?
The first shock for many families is discovering that a lift ticket doesn’t have a single, fixed price. The cost you pay is a moving target, dictated by a practice called dynamic pricing. Much like airline tickets, resorts charge a premium for high-demand periods—think Christmas, New Year’s, and Family Day weekend. During these peak times, a single-day adult ticket can skyrocket. For instance, according to Whistler Blackcomb’s 2024 pricing structure, a walk-up window ticket can cost over $299 CAD for a single day, whereas planning ahead with an Epic Day Pass for off-peak times could bring that cost down significantly.
This is where the direct comparison between Whistler and Big White becomes crucial for a family on a budget. While both use dynamic pricing, their base costs and package deals differ substantially. Big White consistently offers a lower entry price point, which can represent significant savings for a family of four over a multi-day trip. However, Whistler’s extensive pass system (like the Epic Pass) can offer deep discounts if you plan far in advance and commit to multiple days.
To make a smart decision, you must look beyond the single-day peak price and compare the options that fit your specific travel dates. The table below, based on an analysis of resort pricing, gives a clearer picture of the difference in weekend costs.
| Resort | Adult Day Ticket (Peak) | Family Package (2 adults + 2 kids) | Multi-Day Savings |
|---|---|---|---|
| Whistler Blackcomb | $229-269 CAD | $478 CAD (weekend) | Up to 65% with Day Pass |
| Big White | Significantly lower | $384 CAD (weekend) | Progressive discounts available |
Ultimately, the “cheaper” resort depends entirely on when you go and how far in advance you buy. A last-minute trip to Whistler during a holiday will always be the most expensive option. A well-planned trip using multi-day passes can dramatically change the value equation.
Renting Skis vs. Buying Used: Which Saves More Money for Kids Under 12?
For families with children under 12, equipment is a major, recurring expense. Kids grow fast, and a pair of skis that fits in December might be too small by March. This leads to the classic debate: rent, buy new, or buy used? The answer isn’t a simple one-size-fits-all; it requires thinking about the equipment lifecycle cost over several seasons, not just for one trip. Buying used gear from a ski swap seems cheap upfront, but it comes with risks of improper fit or hidden damage.
A smarter, long-term strategy often involves a hybrid approach that minimizes financial risk while ensuring your child is on safe, correctly-sized gear. For a first-timer, nothing beats a one-day resort rental. The technicians ensure a perfect fit, which is crucial for a positive first experience. Once you know your child enjoys the sport, seasonal rental programs from local ski shops offer the best of both worlds. These programs allow you to rent a full package for the entire winter at a fraction of the purchase price. As an example, some shops offer seasonal rentals with a buyout option, where you can apply the rental fee toward purchasing the gear if your child loves it and you want to keep it.
This long-term mindset prevents you from buying expensive new gear every single year while avoiding the potential pitfalls of the used market. It’s about building a multi-year plan to manage costs effectively.
Your Action Plan: Smart Equipment Strategy for Kids
- First Timers: Start with resort rentals for the first few ski days to ensure proper fitting and a positive experience without a long-term commitment.
- Explore Trade-Ins: Check with local Canadian ski shops about trade-in programs; many offer up to a 50% credit for outgrown gear toward next year’s equipment.
- Time Your Purchase: For buying, target the pre-season (fall). Shops have the best selection and can help “size to the future” to get maximum use out of the gear.
- Visit Ski Swaps: Investigate ski swaps run by organizations like the Canadian Ski Patrol. You can find high-quality used equipment at a fraction of the retail cost, but go with a knowledgeable friend if you’re unsure what to look for.
- Leverage Seasonal Rentals: For kids who ski regularly, invest in season-long rentals. Look for programs with buyout options to test equipment thoroughly before committing to a purchase.
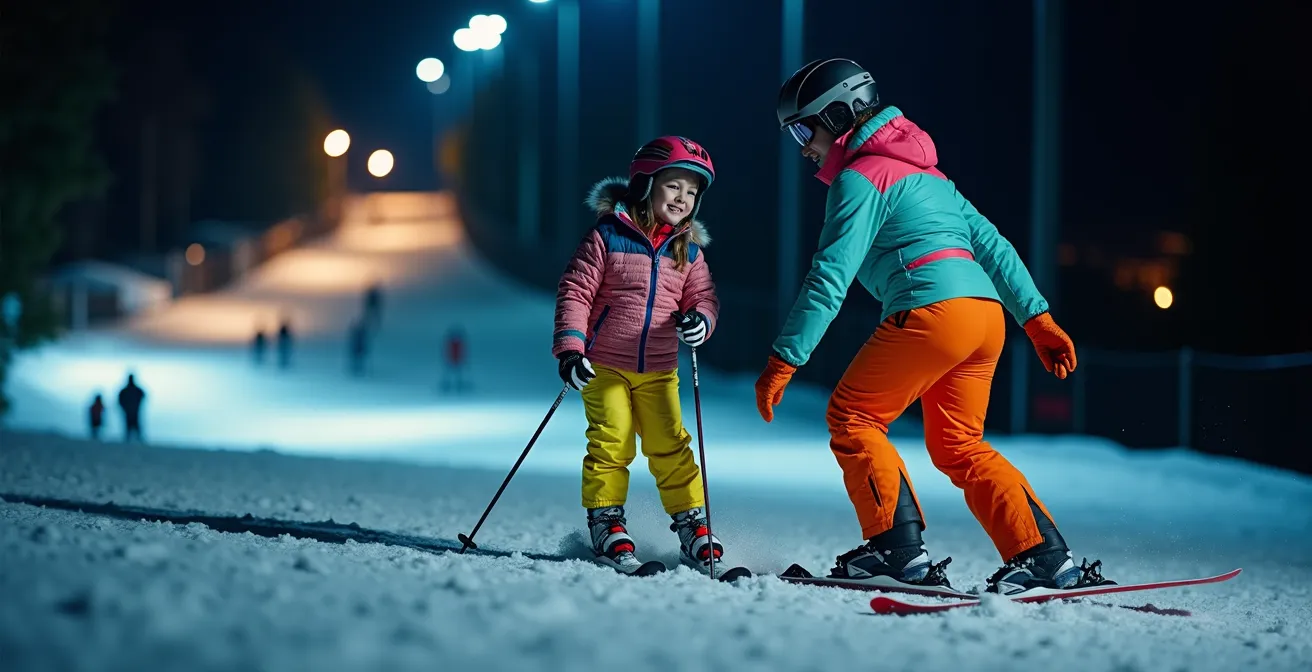
Night Skiing: Is the Reduced Ticket Price Worth the Limited Terrain?
Night skiing often pops up as a great budget-friendly option. The tickets are significantly cheaper, and it offers a unique, almost magical experience. For a family, the idea of skiing under the stars can be a powerful draw. But from a value perspective, you have to ask: is it worth it? The main trade-off is the amount of terrain available. You are paying less, but you’re also getting access to a much smaller portion of the mountain, typically limited to a few lit groomers near the base.
This is another area where the comparison between Whistler and Big White is stark. While Whistler offers some night skiing, it’s a relatively small operation. In contrast, Big White offers the most extensive night skiing terrain in Western Canada, with a dedicated area of 38 acres (15 hectares). This larger area means more variety and less crowding, significantly increasing the value of that discounted ticket. For a family looking to extend their ski day or get a few extra hours on the snow after arriving, Big White’s offering is hard to beat.
The decision ultimately comes down to your family’s goals. If you have young kids who are tired after a full day, a cheaper night ticket for a couple of easy runs can be a perfect, low-pressure way to end the evening. It’s less about logging vertical feet and more about the unique memory.
As you can see, the experience itself can be a huge part of the value equation. If the goal is to create a special family moment, the limited terrain becomes less of a factor. However, if you’re a family of advanced skiers looking to maximize your time on challenging runs, the savings from a night ticket probably won’t be worth the trade-off.
The Collision Liability: Who Pays If You Crash into Another Skier?
One of the most overlooked “costs” of a ski vacation is the risk of an on-hill collision. It’s an uncomfortable topic, but understanding liability is crucial for every skier, especially parents. Many skiers incorrectly assume the resort is responsible for accidents. In Canada, the legal landscape places significant responsibility on the individual. At every resort, you will see signs posting the Alpine Responsibility Code, a set of 10 rules governing on-hill conduct. As the Canadian Ski Council emphasizes, this code plays a quasi-legal role in determining fault.
The core principle is that the skier downhill or ahead of you has the right of way. If you collide with someone, you are generally presumed to be at fault. In British Columbia, this is reinforced by the province’s Occupiers Liability Act. This law legally requires skiers to ski in control and within their ability level at all times. This means if a collision occurs, the investigation will focus heavily on whether you were acting responsibly. The financial consequences, from damaged equipment to civil lawsuits, can be severe.
A common question from parents is whether the situation changes if their child is in a ski lesson. The answer is yes. When children are enrolled in a ski school program, the resort and its instructors assume a different level of liability. Ski schools and their staff carry their own professional insurance, which provides an additional layer of protection and supervision. This is one of the hidden values of putting your kids in lessons—it’s not just about improving their skiing; it’s also about ensuring they are in a supervised and professionally managed environment, which can provide immense peace of mind.
February Break vs. March Break: When Is the Snow Quality Actually Best?
Choosing between a February and a March ski trip seems like a minor detail, but in British Columbia, it can dramatically impact your experience due to one crucial factor: snow quality. This is where understanding the province’s geography comes into play. Coastal mountains like Whistler receive massive amounts of snow, but it’s often heavier and wetter. Interior mountains like Big White are famous for their light, dry “champagne powder.” This difference becomes critical as the season progresses.
In February, temperatures are consistently cold across the province, generally ensuring good snow quality at both resorts. However, as March arrives, the weather becomes more variable. The coastal region is more susceptible to “Pineapple Express” weather systems that bring warm air and rain, which can quickly ruin snow conditions at lower elevations. As noted by powder conditions experts, the dry interior powder at Big White tends to hold up much better to freeze-thaw cycles and warming temperatures, making it a more reliable bet for quality spring skiing.
This creates a classic value trade-off. March offers longer daylight hours and potentially smaller crowds as provincial spring breaks are more staggered than the concentrated BC Family Day in February. However, you run a higher risk of variable or icy conditions at a coastal resort. For a family, especially one with learners, soft, forgiving snow is a massive bonus. This is where the higher elevation and drier snow of an interior resort can provide better value, even if other factors seem equal.
This table, based on a seasonal analysis of BC weather patterns, breaks down the key differences to help you decide.
| Factor | February Conditions | March Conditions |
|---|---|---|
| Snow Quality | Better powder, colder temperatures | More variable, prone to freeze-thaw cycles |
| Daylight Hours | Shorter days (9am-4pm skiing) | Longer days (8am-5pm+ skiing) |
| Crowd Levels | BC Family Day creates spike | Staggered provincial breaks spread crowds |
| Weather Pattern | More consistent cold | Risk of ‘Pineapple Express’ warm systems |
How to Dress for “Freeze-Thaw” Cycles Without Overheating?
Dressing for a day on the slopes, especially during the variable conditions of March, is a science. A common mistake families make is “over-dressing” their kids in bulky jackets, leading to overheating and sweating. Once that sweat cools, the child becomes chilled and miserable. The key to comfort in a “freeze-thaw” cycle—where it’s cold in the morning and warm in the afternoon—is not insulation, but strategic layering.
Forget the single, heavy winter coat. A proper layering system consists of three distinct parts:
- Base Layer: This is the layer against the skin. Its only job is to wick moisture (sweat) away. Absolutely no cotton! Cotton absorbs moisture and will make you cold. Opt for merino wool or synthetic fabrics like polyester.
- Mid Layer: This is your insulation layer. A fleece jacket or a light, puffy vest is perfect. This is the layer you will most likely remove and put in a backpack as the day warms up. Its thickness depends on the forecast.
- Outer Layer (Shell): This is your protection from the elements. A good shell should be waterproof and windproof but also breathable. Features like zippered underarm vents (“pit zips”) are invaluable, allowing you to release heat without having to take the jacket off.
As an instructor, my best advice is to start the day feeling slightly cool on your way to the first lift. You will warm up very quickly once you start skiing. For kids, it’s crucial to check in with them often. Ask if they’re too hot or too cold, and don’t be afraid to take a 10-minute break in the lodge to add or remove a mid-layer. This proactive approach to temperature regulation will keep everyone comfortable and happy, maximizing your time on the snow.
TSSA Certification: What Does That Sticker Mean on a Zipline?
When you’re at a resort like Whistler, you’ll see plenty of other activities, from ziplines to mountain coasters. For parents, safety is the top priority, and you might look for familiar safety certification stickers. Some visitors might look for a TSSA sticker, but this is a critical point of local knowledge. In a clear statement on jurisdiction, Technical Safety BC clarifies, “TSSA is an Ontario regulator and their stickers will not be found in BC. In British Columbia, Technical Safety BC is the authority that certifies all chairlifts, gondolas, and ziplines at resorts like Whistler and Big White.”
Knowing the correct regulatory body is the first step. The second is understanding what that certification means. Technical Safety BC is not just a name; it’s the independent provincial organization responsible for ensuring all “passenger ropeways” (the technical term for lifts, gondolas, and ziplines) are designed, installed, and operated according to strict safety standards. This provides an essential layer of assurance for families.
The peace of mind this offers is immense. The rigorous process means that every piece of equipment is subject to intense scrutiny before it ever carries a passenger. In fact, the oversight is comprehensive; Technical Safety BC ensures comprehensive safety oversight, with 100% of BC ski resort lifts, gondolas, and ziplines undergoing mandatory annual inspections. So, when you see the Technical Safety BC sticker on a piece of equipment, you can trust that it is part of a robust, province-wide safety system designed to protect you and your family.
Key Takeaways
- The true value of a ski trip is measured in “cost per quality run,” not just the lift ticket price.
- Snow quality and reliability, especially in March, are often better at interior resorts like Big White than at coastal ones like Whistler.
- A long-term equipment strategy involving seasonal rentals and trade-ins saves more money for growing kids than ad-hoc purchases.
Visiting Canada in November: Why Is It the Cheapest Month to Fly?
The allure of cheap November flights can be powerful for a family trying to stretch a vacation budget. Airlines drop their prices because it’s a “shoulder season”—a lull between the end of summer tourism and the full swing of the holiday ski season. However, for skiers, this presents a significant gamble. While you might save hundreds on airfare, you might arrive to find very little snow and only a fraction of the mountain open for skiing.
Most BC ski resorts have target opening dates in late November, but these are entirely weather-dependent. A warm fall can push opening day into December. For example, based on 2024-2025 season schedules, Big White’s planned opening is November 28, 2024. Booking a trip for the week before that date is a high-risk bet. Even if the resort is open, it will likely be with a very limited base and only a handful of man-made snow trails.
This is where looking beyond BC can provide context. The resorts in the Alberta Rockies, like Lake Louise and Sunshine Village, have a higher base elevation and typically receive reliable early-season snow, often allowing them to open more terrain earlier in November. For families determined to ski in November, a flight to Calgary might offer better value than a flight to Kelowna or Vancouver, even if the airfare is slightly higher.
The following table, using data from resort comparison experts, illustrates the “shoulder season gamble” by comparing typical early-season conditions.
| Factor | BC Resorts (Nov) | Alberta Rockies (Nov) |
|---|---|---|
| Typical Terrain Open | 10-20% | 30-40% |
| Base Elevation | Lower (more rain risk) | Higher (reliable snow) |
| Opening Reliability | Weather dependent | More consistent |
| Example Resort | Whistler/Big White | Lake Louise/Sunshine |
Now that you’re equipped with an insider’s framework for evaluating a ski vacation, you can move beyond simple price comparisons. By calculating the true cost per quality run, you’re ready to plan a trip that truly fits your family’s budget, skill level, and aspirations, ensuring every dollar spent translates into a fantastic experience on the hill.